Recommended Workflows
Optimize your asset management workflow with these proven strategies for organizing, editing, and exporting game assets.
Workflow 1: Game Project Asset Management
The core workflow - add your game's asset folder as a project, browse and manage assets directly, and quickly edit or convert files in place.
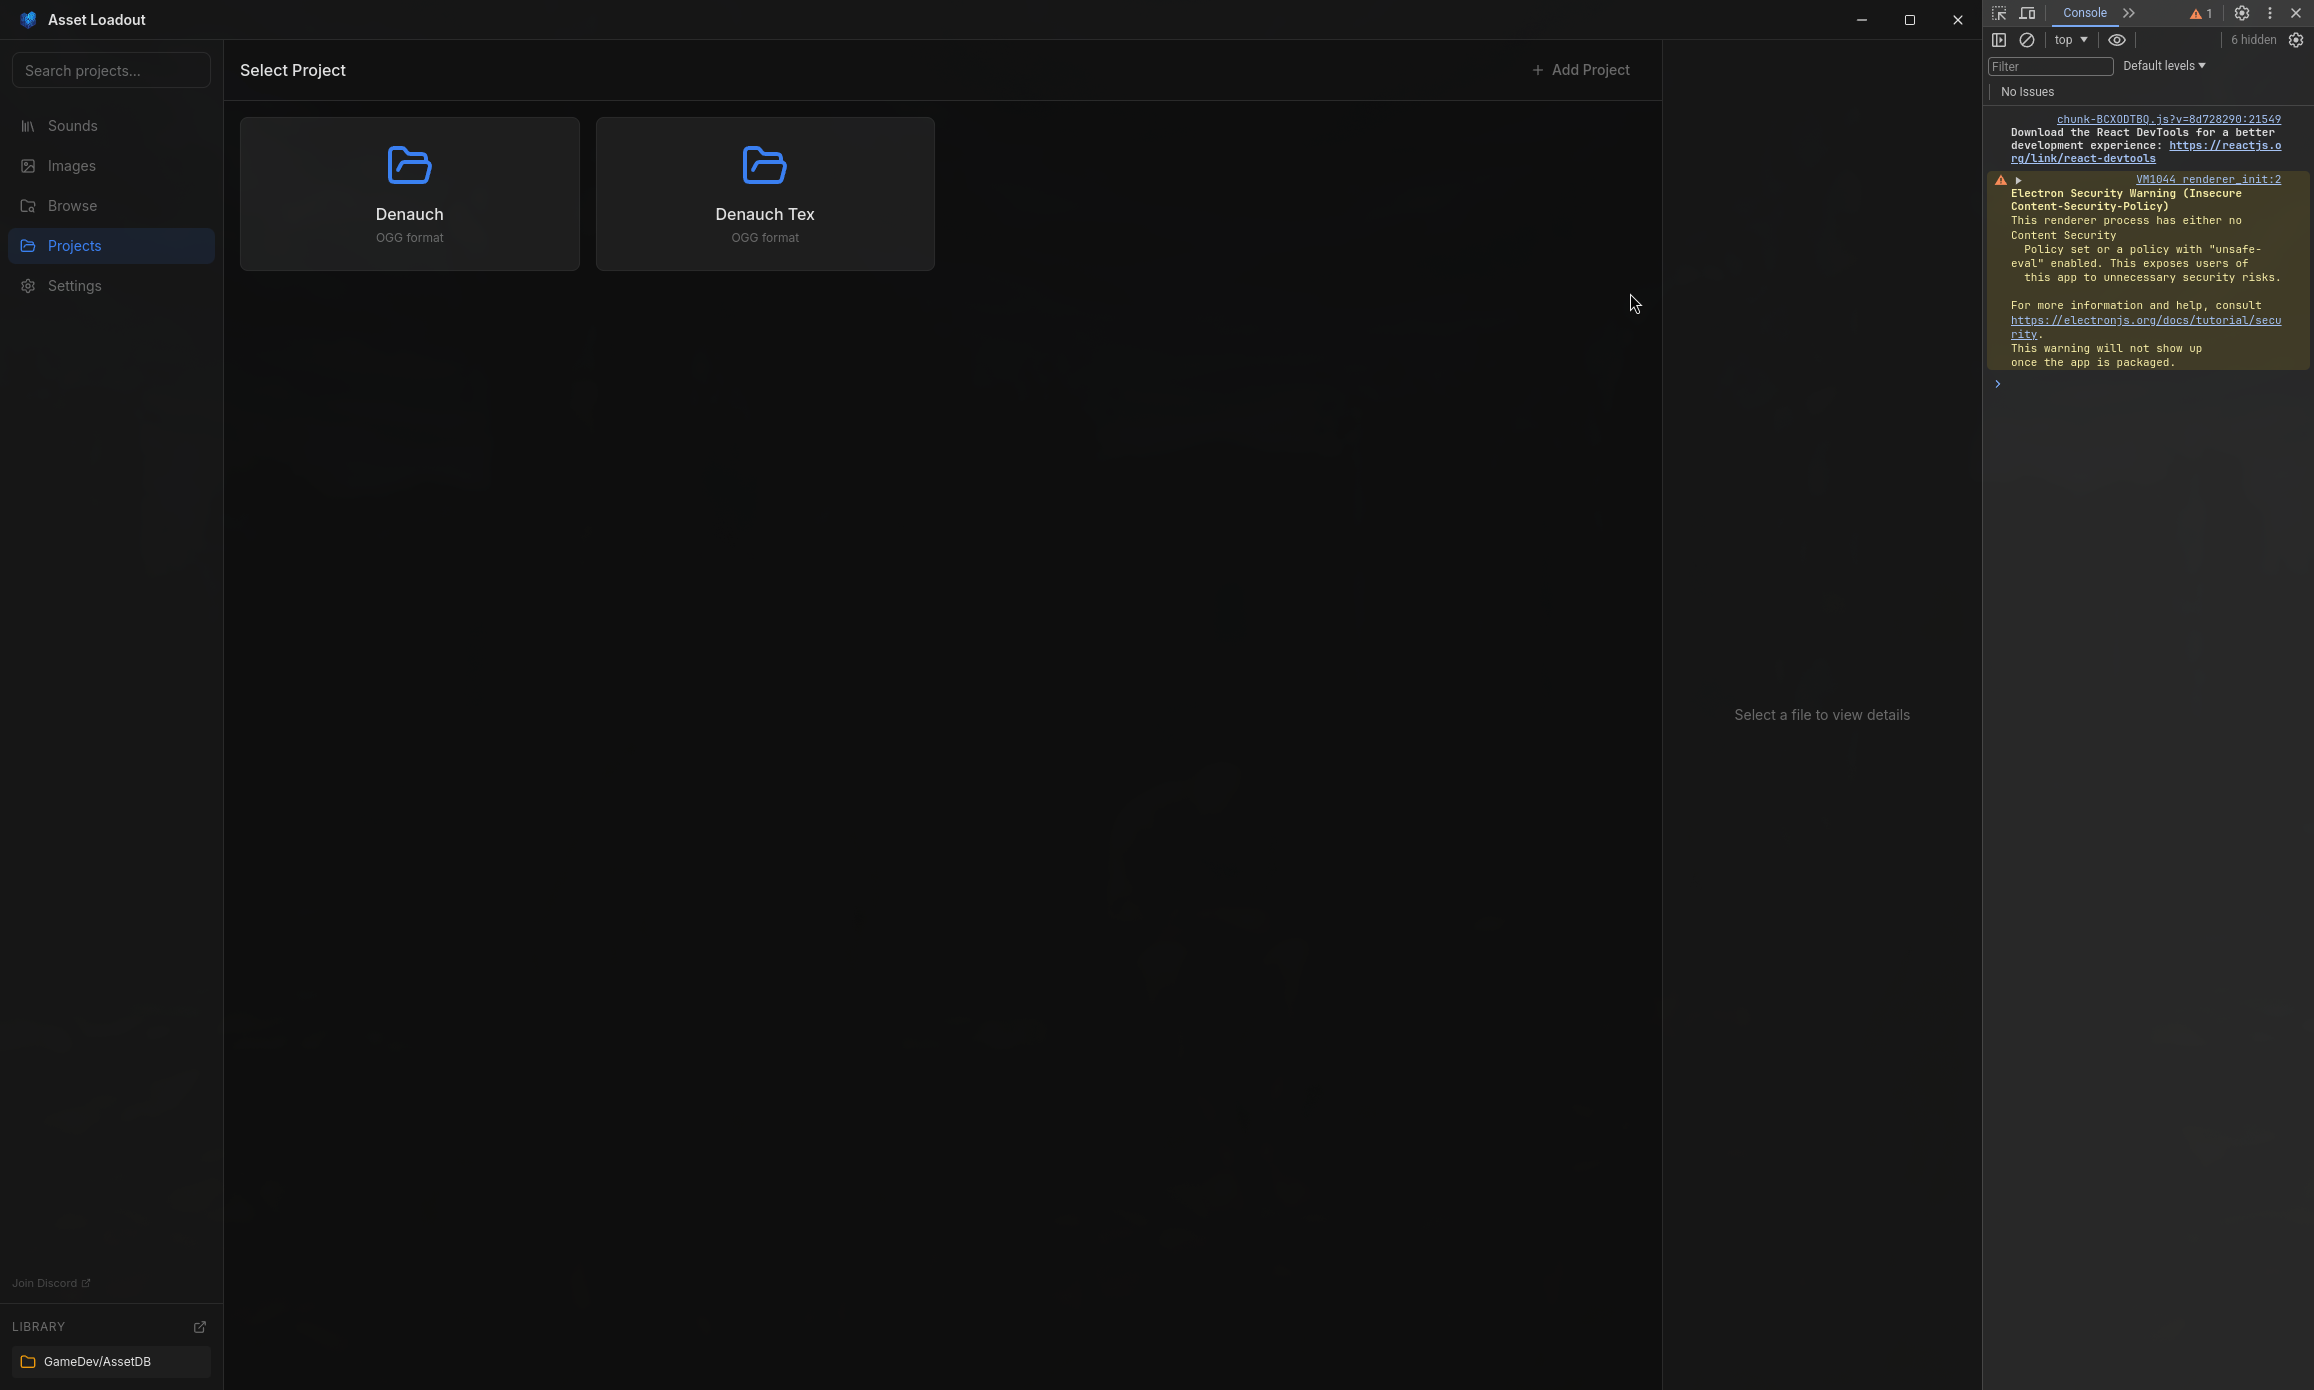
Add your game's asset folder as a project
Go to Settings → Projects and add your game's root folder or asset directory (e.g., MyGame/Assets/).
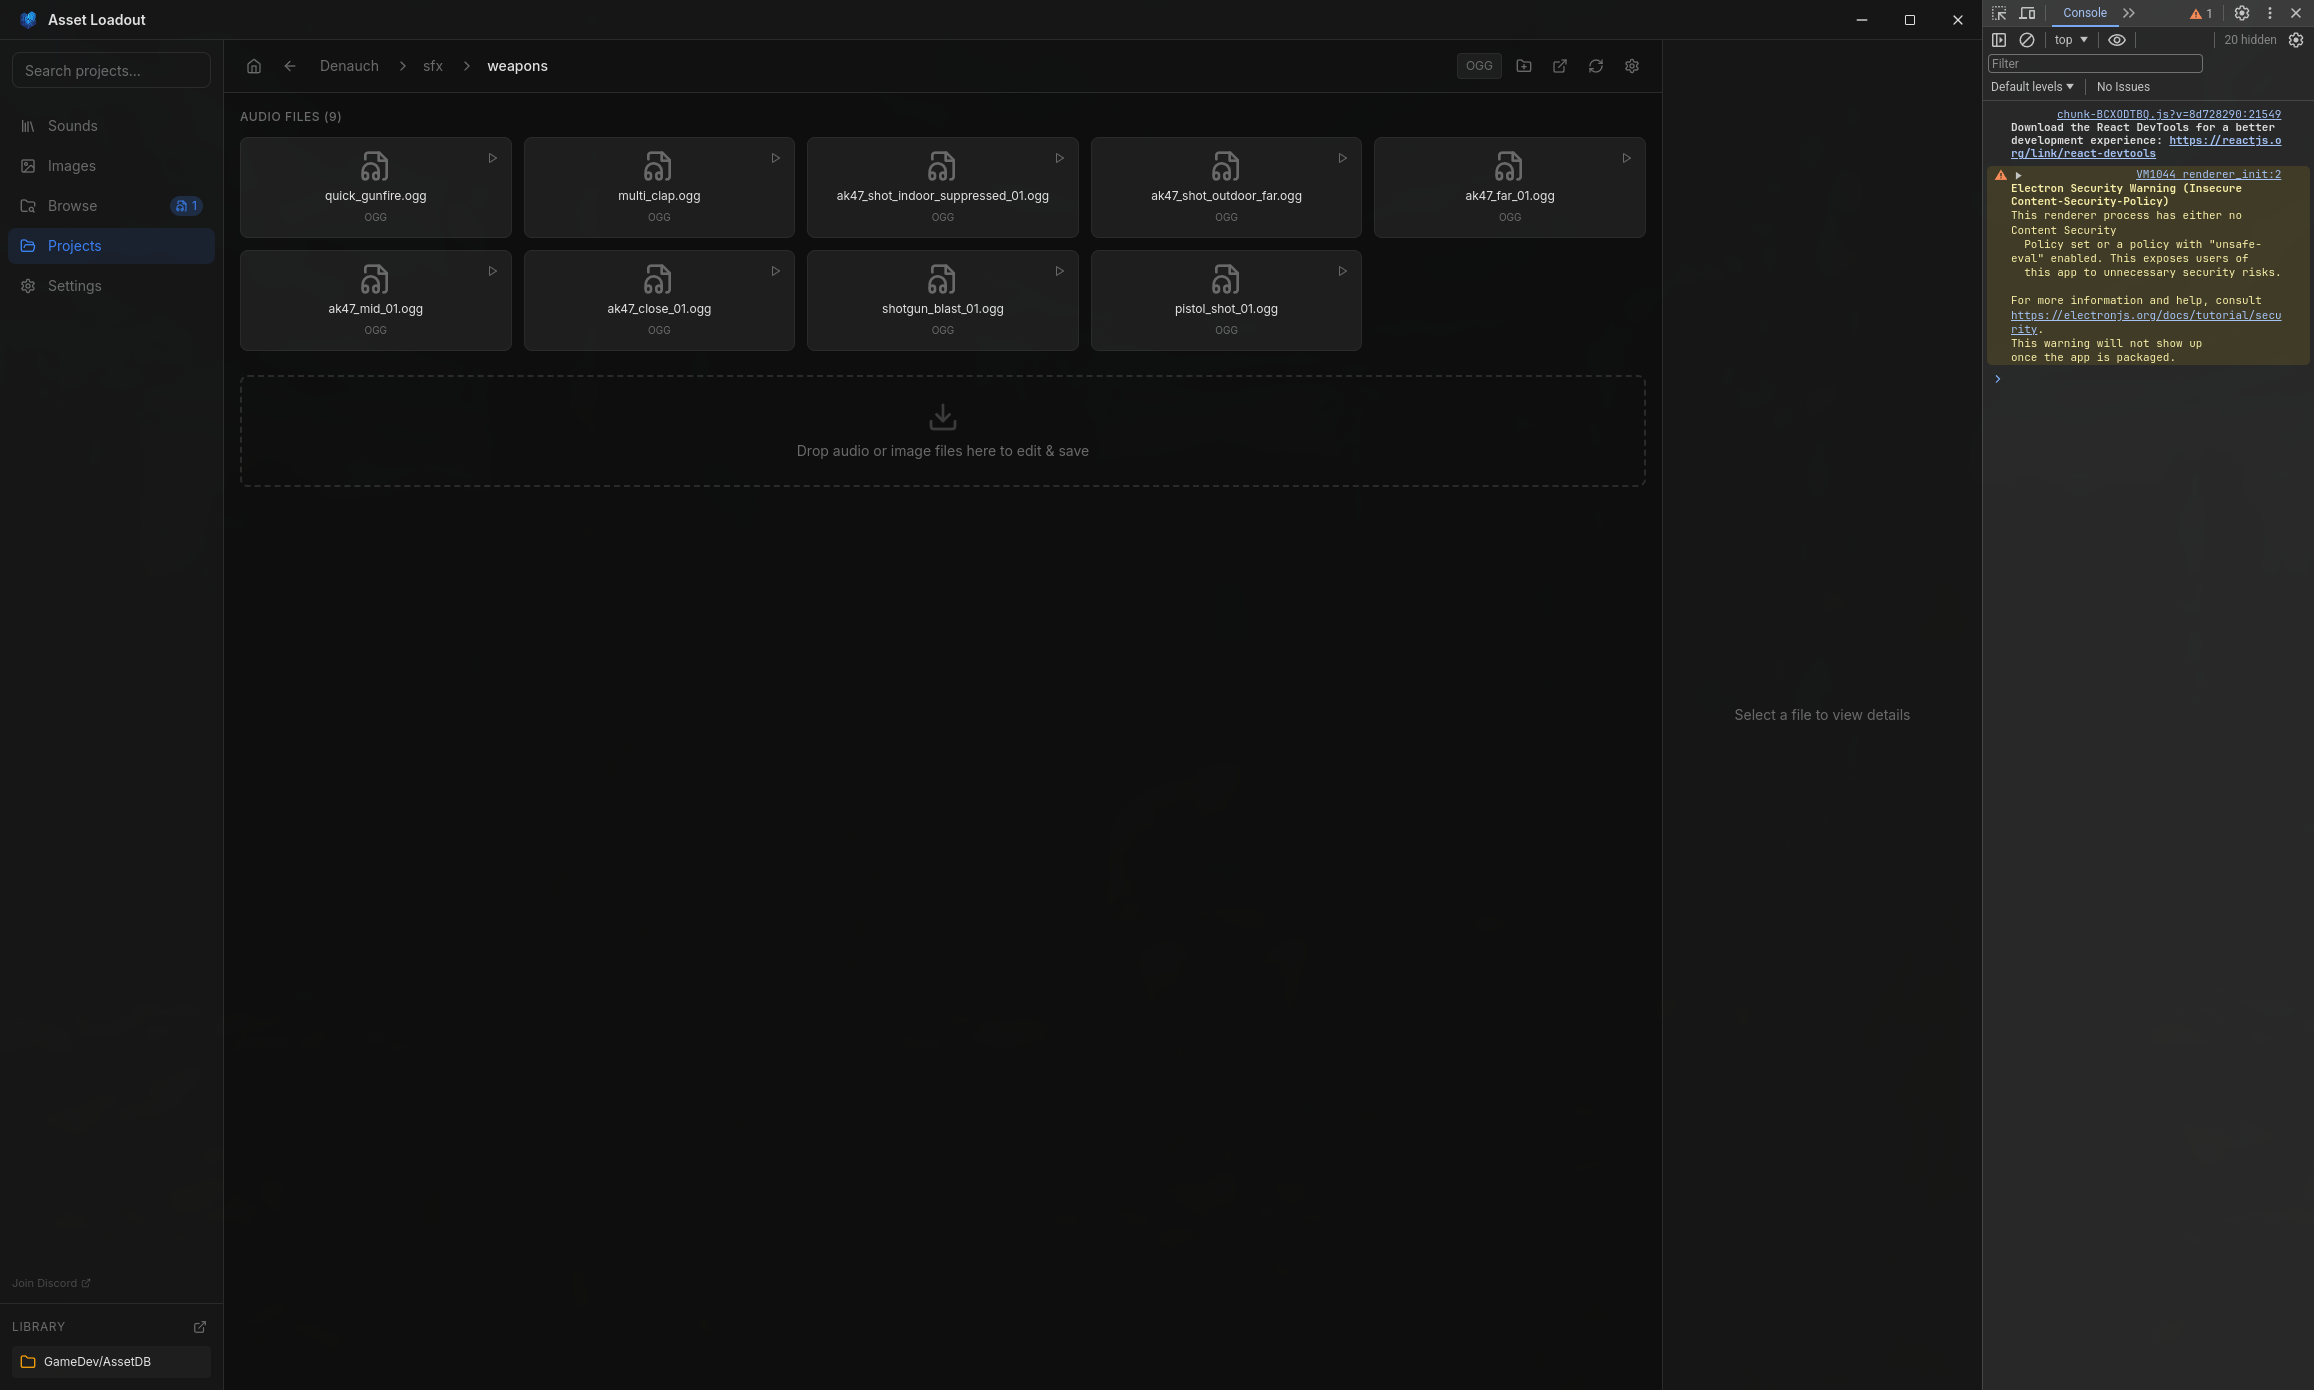
Navigate your project directories in Browse view
Use the file browser to explore your project's folder structure. See all your audio and image assets organized as they are on disk.
Open system file browser to drag in new assets
Right-click any folder → "Open in File Browser" to open it in your system's file manager. Drag new assets directly into your project folders.
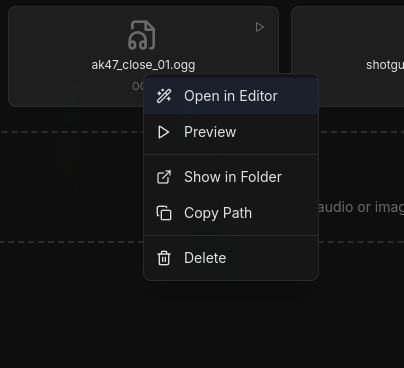
Select assets and edit or convert seamlessly
Click any asset to preview it. Use the editing panel to trim audio, adjust images, normalize volume, resize textures, or convert formats - all without leaving the app.
Export in-place or to a new location
Save your edits directly to the same file, or export to a different format/location. Perfect for converting WAV to OGG or resizing textures for your game engine.
Why this works: No import/export dance. Your project folder IS your workspace. Edit assets where they live, and changes are instantly available in your game engine.
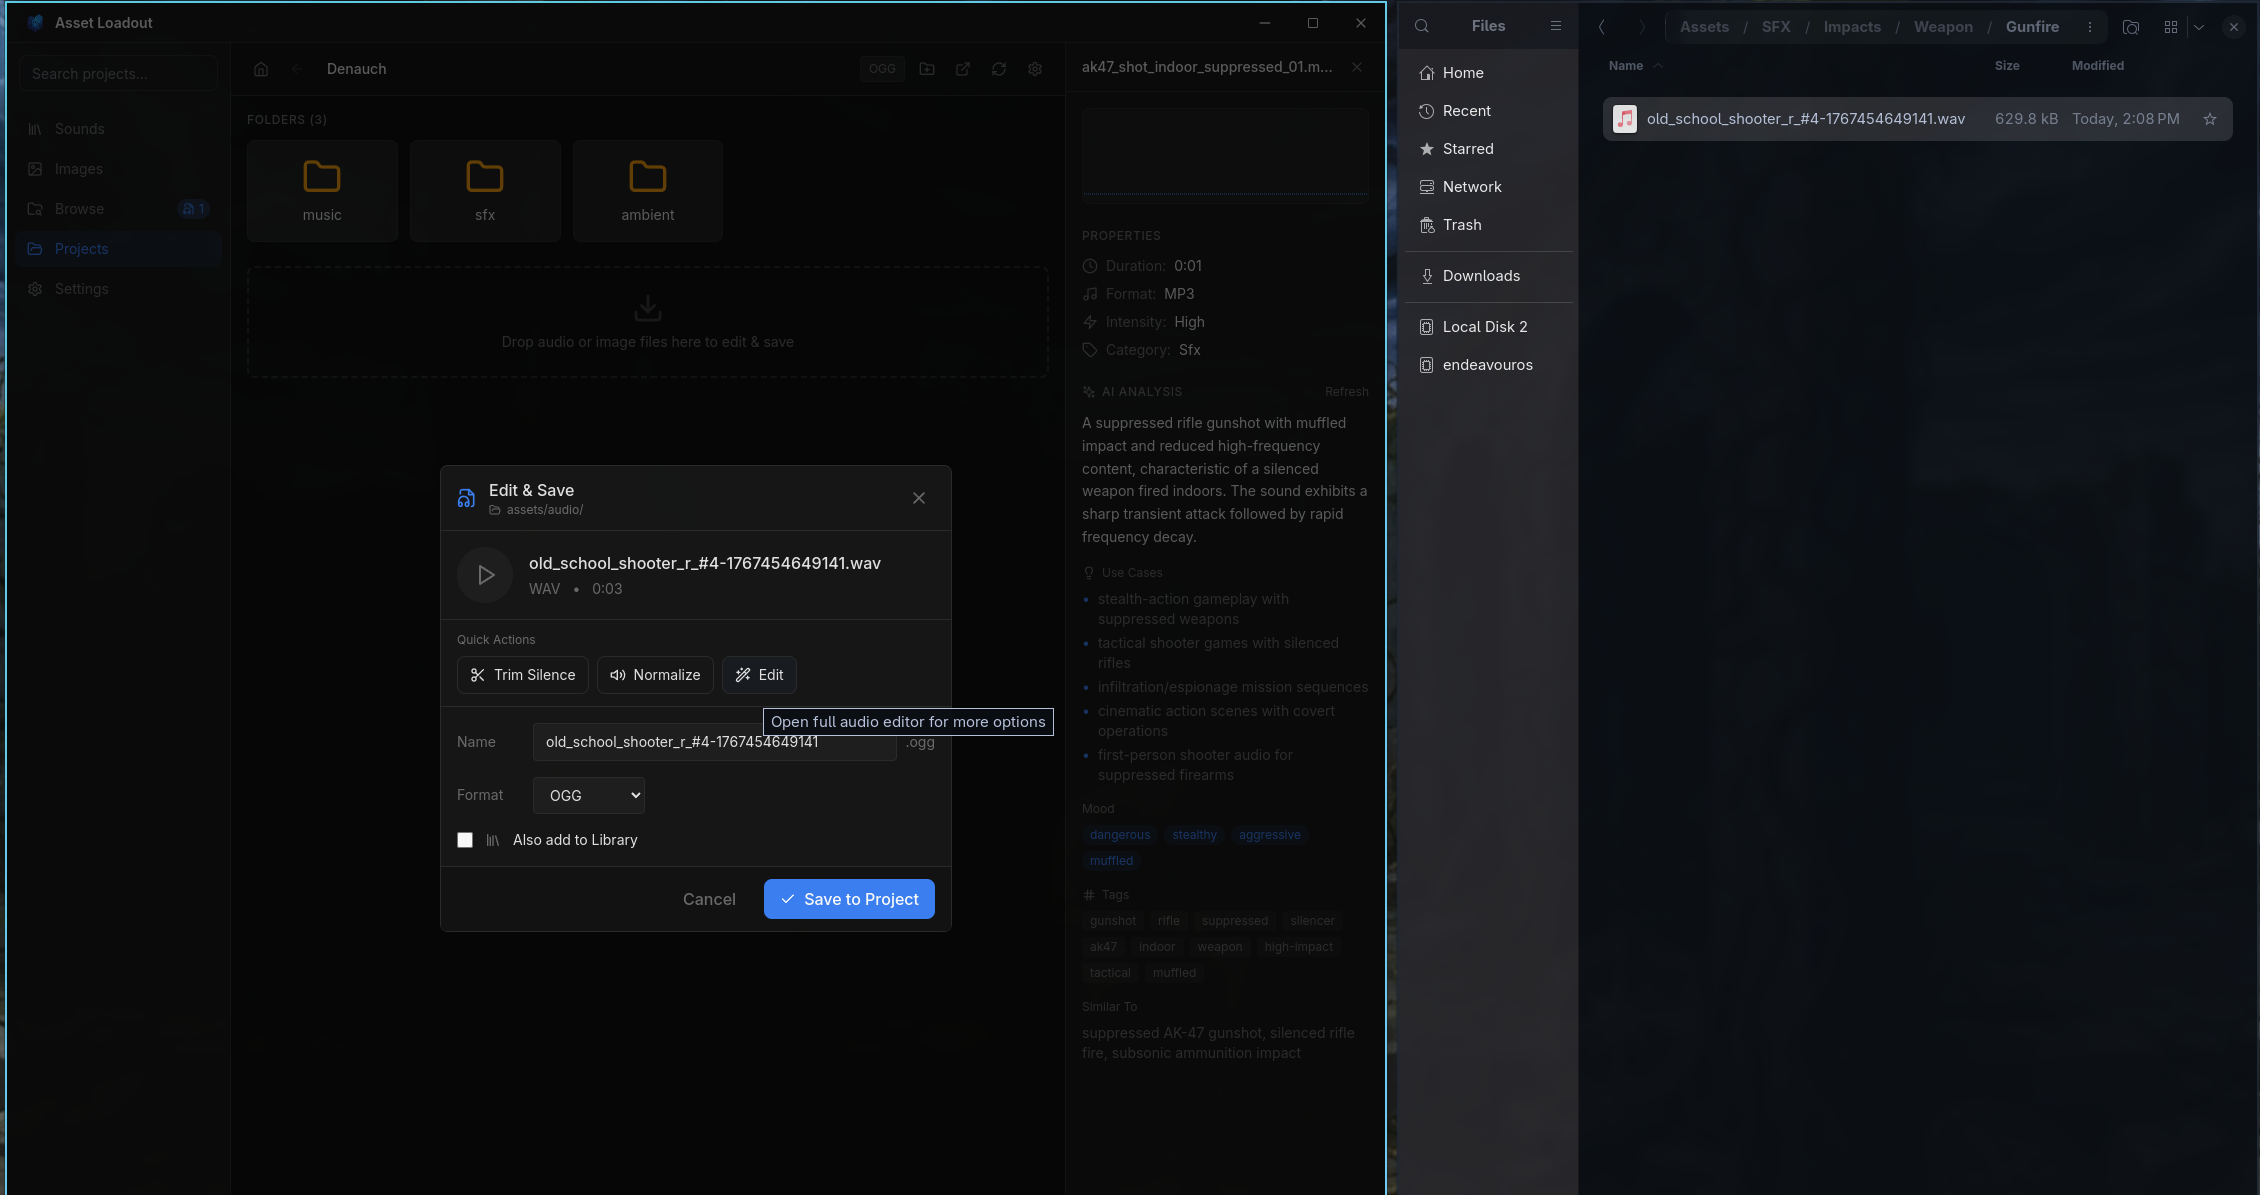
Quick Add: Drag Files into Project
The fastest way to add new assets - drag files from your file system directly into a project folder. A quick-action menu appears with instant options.
Quick Resize
One-click resize to power-of-2 dimensions (256, 512, 1024, 2048). Perfect for game engine textures.
Format Conversion
Automatically converts to project's default format (PNG, WebP, etc.) or keep original. Set per-project defaults in settings.
Open Full Editor
Need more control? Click the edit button to open the full image editor with crop, adjustments, and all tools.
Add to Library
Optionally add the asset to your library for AI tagging, searchability, and organization alongside your other assets.
Pro tip: Drag files directly onto a subfolder to save there. The drop zone highlights when hovering over valid targets.
Workflow 2: Importing Downloaded Assets
The most common workflow - you've just downloaded assets from a marketplace and want to organize them into your library.
Download files to your Downloads folder
Asset Loadout automatically detects new files in your Downloads folder (or any custom source folder you've added).
Open Browse view and check for new files badge
You'll see a notification badge showing how many new assets were detected.
Click "Scan & Import" or "Import All"
This opens the import dialog where you can review all detected files before importing.
Enable AI analysis and review duplicates
Turn on "Enable AI categorization" to automatically generate metadata. Check for duplicate warnings and decide whether to skip or import.
Import and optionally delete source files
Click "Import Selected". If you enable "Delete source files after import", original files will be removed from Downloads to save space.
Review AI-generated metadata in Library
Go to Library view and check the AI-suggested filenames, folders, and tags. Edit if needed.
Time saved: What would take 30+ minutes of manual renaming and organizing takes ~2-3 minutes with AI assistance.
Workflow 3: Batch Audio Normalization
Normalize volume across all your sound effects for consistent loudness in-game.
Go to Library (Audio) view
Select multiple audio files (Ctrl+Click or Shift+Click)
Example: Select all footstep sounds to normalize them together.
Right-click → "Export Selected"
Enable "Normalize Audio" in export settings
This will maximize volume without clipping for all selected files.
Choose format (OGG recommended for games) and export
Pro tip: For character footsteps, also apply a slight pitch shift variation (-1 to +1 semitone) to individual files before export to add natural variation.
Workflow 4: Reorganizing Messy Asset Packs
You downloaded a huge asset pack with terrible organization and naming. Let AI do the heavy lifting.
Navigate to the messy folder in Browse view
Right-click the folder → "Reorganize with AI"
AI agent scans all files and analyzes them
This may take several minutes depending on file count and AI model speed.
Review the suggested reorganization plan
AI will show you the proposed folder structure and file renames. You can approve, modify, or cancel.
Confirm and let AI reorganize everything
Import the newly organized folder to your Library
Best for: Large asset packs (100+ files) with generic names like "sound_001.wav", "audio_final_v3.wav", etc.
Workflow 5: Semantic Sound Search
You need a specific sound but can't remember the filename. Use AI-generated metadata to find it quickly.
Type a natural description in the search bar
Example: "gravel footstep", "creepy ambient", "metal hit", "cheerful UI sound"
Results match against AI descriptions, tags, mood, and use cases
Not just filename matching - semantic understanding of what you're looking for.
Preview results with spacebar and select the perfect sound
Use filters to narrow down: category, intensity, rating, favorites
Example searches: "horror atmosphere", "button click", "sword swing", "rain loop", "explosion impact", "fantasy magic"
Workflow 6: Exporting Assets to Game Project
Export optimized assets directly to your Unity, Unreal, Godot, or custom game project folder. Search your library, find what you need, and export with format conversion in one flow.
Add your game project in Settings → Projects
Point Asset Loadout to your game's root folder.
Search your library for the asset you need
Use search, tags, or filters to find sounds or images in your library.
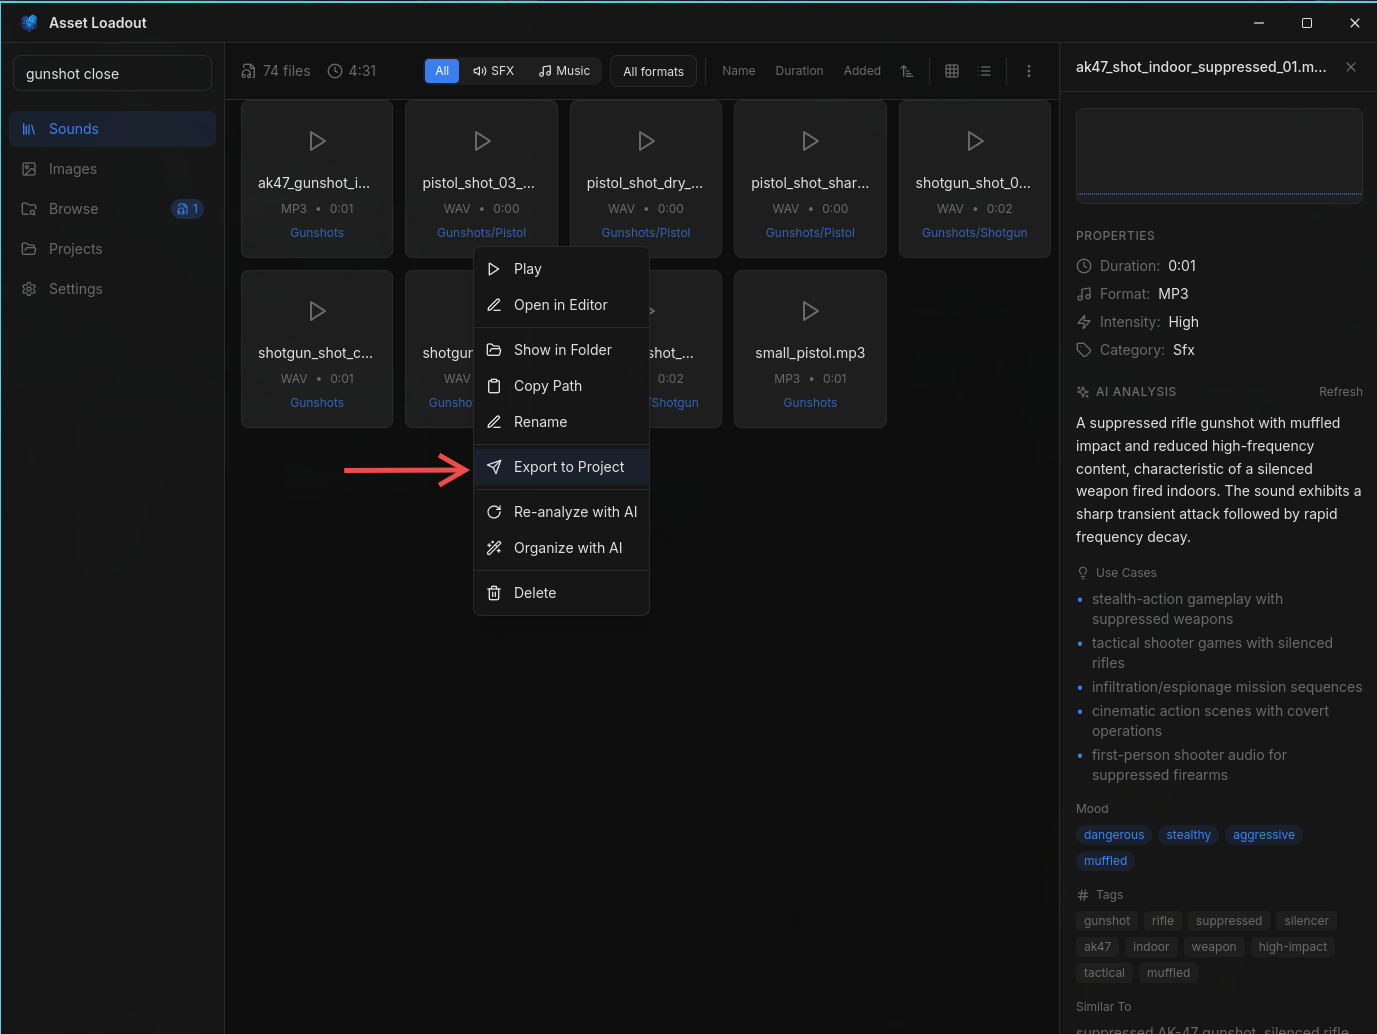
Right-click → "Export to Project"
Choose target project and navigate to destination folder
Browse your project's folder structure and select where to save.
Configure export: format, quality, normalization
Convert formats (WAV → OGG), enable normalization, rename the file.
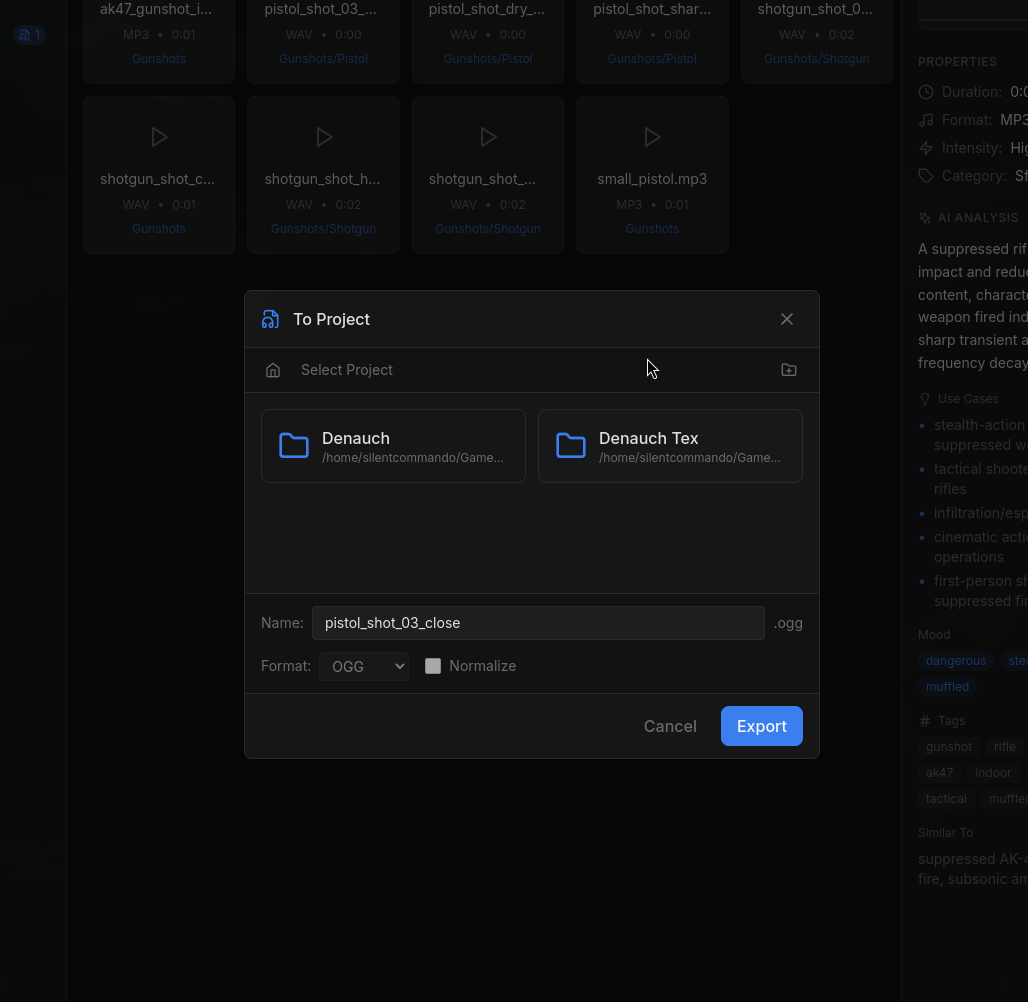
Click Export - file is converted and copied to your project
Full export workflow: search, right-click, configure, and export to your project
Audio Formats
Export as OGG, MP3, WAV, or FLAC. Enable normalize to maximize volume without clipping.
Image Formats
Export as PNG, JPG, WebP, or TIFF. Keep original format or convert for your engine.
Pro tip: Save export presets per project (format, quality settings) so you can quickly export with consistent settings every time.
Tips & Best Practices
Use Favorites & Ratings
Star your most-used sounds and rate assets. This makes future searches faster and helps you remember what works well.
Enable "Delete Source Files"
After importing to Library, delete original files from Downloads to save disk space. Your library is your single source of truth.
Batch AI Analysis
Always enable AI analysis during import for new files. It's cheaper to do in batches than one-by-one later.
Keep Library Organized
Trust AI suggestions for folder structure. Consistent organization makes searching easier and the AI agent learns from your structure.
Ready to Get Started?
Go back to the Getting Started guide to set up Asset Loadout and begin organizing your game assets.
← Back to Getting Started